Japan Docomo eSIM Information
1. What is Japan Docomo eSIM?
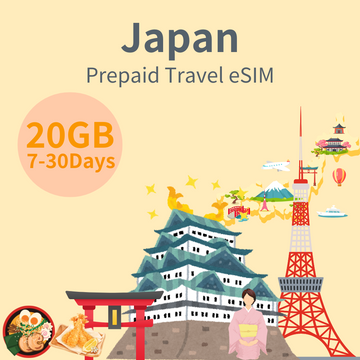
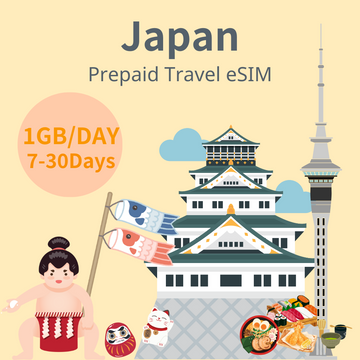
The Japan Docomo eSIM is a digital SIM card that provides access to high-speed data networks in Japan.
2. What to do before you depart:
Before you depart, please make sure you have:
Step 1. Check your device's eSIM compatibility
Note: To check if your device supports eSIM, please dial *#06#. If a 32-digit EID number appears on your screen, your device supports eSIM.
Step 2. Check your device is unlocked
Step 3. Register your Arrival Date via our website here.
3. How do I register my Arrival Date?
To register your Arrival Date, please visit our website here. Once you have completed this, please allow up to 24 hours to proceed.
4. What if I'm not sure about my Arrival Date?
If you're not sure when you'll be traveling, you can register the date later.
It's preferred that register your arrival date at least three days before you travel to ensure a smooth activation process.
5. What if my Arrival Date changes?
Once the eSIM QR code is generated, it is valid for 90 days. If you are traveling within 90 days, no changes it is required to make on your activation date. If you are traveling beyond 90 days, please email us at customerservice@roaminguru.com. for support.
6. How do I activate this eSIM?
To activate your eSIM, please use the following step:
Step 1 Go to device settings and scan the QR code to install your QR code
iOS
Settings > Mobile > under SIMs, select add eSIM > scan the QR code or enter the activation code manually
Android
Settings > Connections > SIM card manager > select 'Add mobile plan' or 'Add eSIM' > scan the QR code or enter the activation code manually
Pixel
Settings > Network & internet > Mobile network > Advanced > Carrier > select 'Add carrier' or 'Add carrier eSIM'
Step 2 Please allow 2-3 minutes while the QR code installs onto your device. Once the installation is completed, you should see a notification showing the installation completion. The eSIM should appear under your SIMs/eSIM section of your device with one of the following labels: Mobile Data, Secondary, Travel, CSL/1010, etc.
7. What do I do once I have arrived in Japan?
Once you have arrived in Japan, please follow below steps:
Step 1. Turn your eSIM ‘ON’
iOS
Settings > Mobile > under SIMs go to your new Japan Docomo eSIM > toggle the switch for 'Turn on this Line' to ON
Android
Settings > Connections > SIM card manager > go to your new Japan Docomo eSIM > toggle the switch to turn ON the eSIM
Pixel
Settings > Network & internet > Mobile network > go to your new Japan Docomo eSIM > toggle the switch to turn ON the eSIM
Step 2. Change your Mobile Data to your new Japan Docomo eSIM
iOS
Settings > Mobile > Mobile Data > select your new Japan Docomo eSIM
Android
Settings > Connections > SIM Card manager > tap Mobile data > select your new Japan Docomo eSIM
Pixel
Settings > Network & internet > Mobile network > tap Mobile data > select your new Japan Docomo eSIM
Step 3. Check your Data Roaming is turned ON
iOS
Settings > Mobile > under SIMs go to your new Japan Docomo eSIM > check 'Data Roaming' is switched ON
Android
Settings > Connections > Mobile networks > check Data Roaming is switched ON
Pixel
Settings > Network & internet > Mobile network > Advanced > Data Roaming > toggle the switch to ON for your Japan Docomo eSIM
Step 4. Check your APN settings the following:
APN Name: vmobile.jp
APN Username: (Leave Blank)
APN Password: (Leave Blank)
iOS
Settings > Mobile > select your new Japan Docomo eSIM > Mobile Data Network > APN details will be listed
Android
Settings > Connections > Mobile networks > Access Point Names
Pixel
Settings > Network & internet > Mobile network > Advanced > Access Point Names (or APN)
Please allow up to 30 mins for the eSIM to properly connect to the Docomo network.
8. What will my phone number be?
Unfortunately as the Japan Docomo eSIM is a data-only eSIM, it doesn't come with a traditional phone number for voice calls or SMS. Instead, it provides high-speed data connectivity for browsing the web, using apps, and staying connected online while you're in Japan.
9. Can I recharge for my eSIM?
The Japan Docomo eSIM is designed as a single-use eSIM and cannot be recharged or extended once it has been activated. If you need to extend your data connectivity beyond the initial duration, you will need to purchase a new eSIM for the desired duration.
10. What country does the eSIM work in?
The Japan Docomo eSIM Card is specifically designed for use in Japan. It provides high-speed data connectivity within Japan, allowing travelers to stay connected while visiting the country.
If you plan to travel to other countries, you may need to purchase a separate eSIM card or make alternative arrangements for connectivity in those destinations.
11. What happens if I am travelling for longer than the service period that I purchase?
If you are travelling for longer than the duration covered by the Japan Docomo eSIM, you will need to purchase another eSIM for the additional days you need. This allows you to continue enjoying high-speed data connectivity during your extended stay in Japan.
12. How can I contact customer service?
If you have any questions or need assistance, please email us at customerservice@roaminguru.com for support.
Disclaimer:
Please note that the information provided here is subject to change without prior notice. Roaminguru reserves the right to amend any terms and conditions as necessary.


